Re-greasing the Astro-3 equatorial mount |
I bought the
Lidl-refractor in December 2005. I have equipped the Astro-3
equatorial mount with a Vixen MT-1 motor in the RA-axis. The purpose is
to use it as a light-weight travel mount. Pictures of the assembled
mount and a description of how I mounted the motor to
the equatorial head is described in
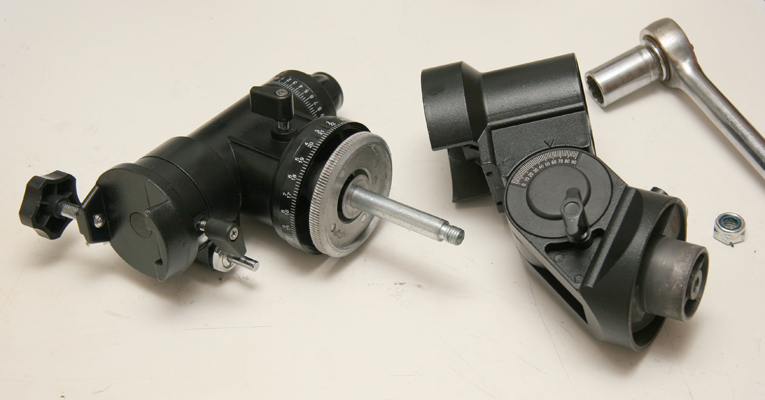
another page. GreasingThe original grease used by the factory is more like glue. I decided to replace this grease. This is a fairly simple operation.Start by removing the cover for the worm gear: |
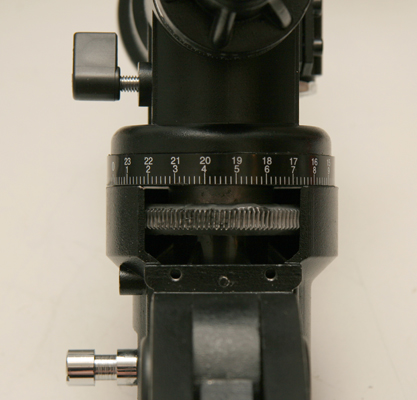
| Here
we see the gear of the RA-axis, |
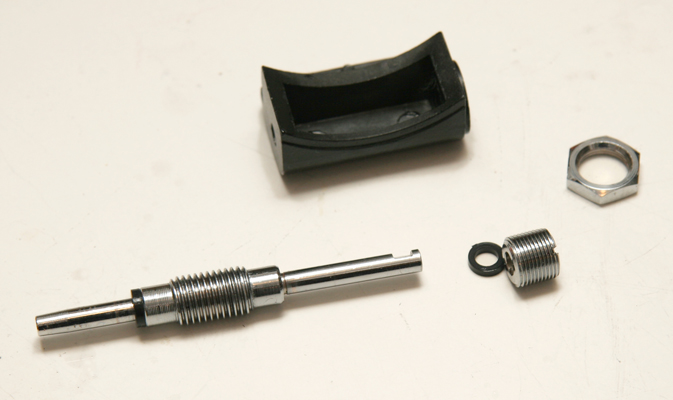
| and
the various parts of the worm drive (after cleansing in white spirit). |
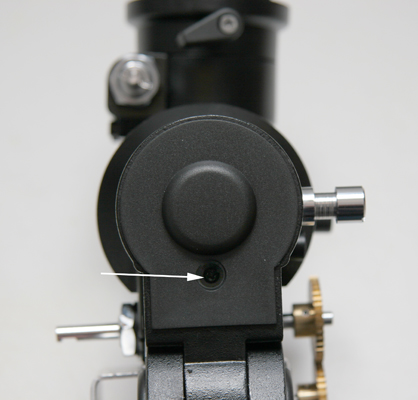
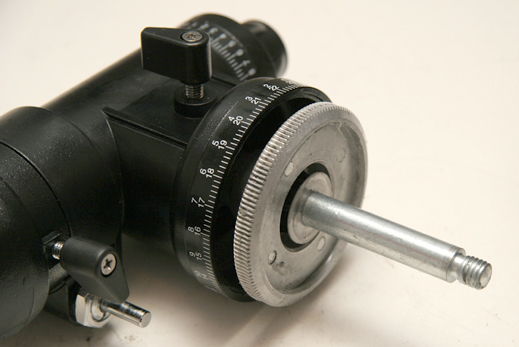
| Remove
the cover at the bottom of the RA-axis by loosening the screw indicated
by arrow. |
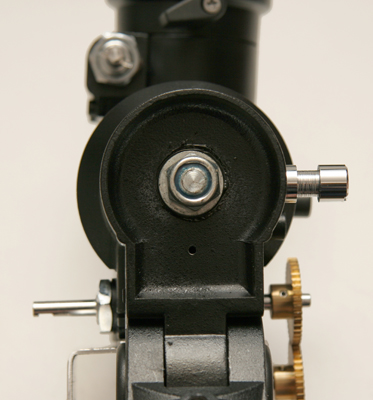
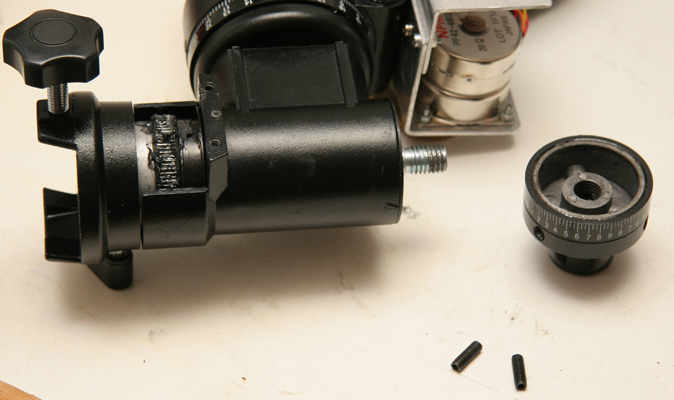
| Loosen
the nut with a 17mm wrench. |
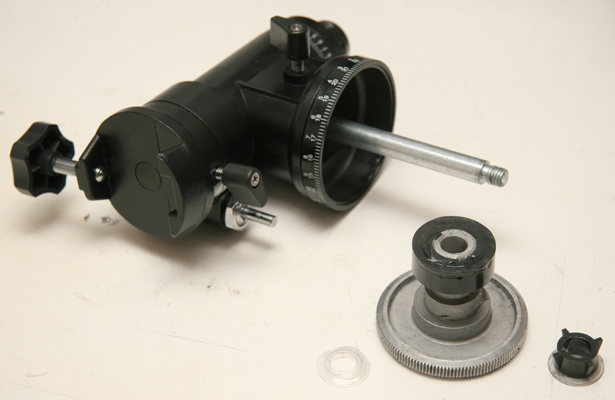
| Pull
out the assembly. |
| Detail
of gear-wheel (after cleansing). It has 138 teeth. However, I have
heard
reports of samples with 139 teeth as well. If you plan to motorize with
computer control you should know this number for calculating correct
speed. |
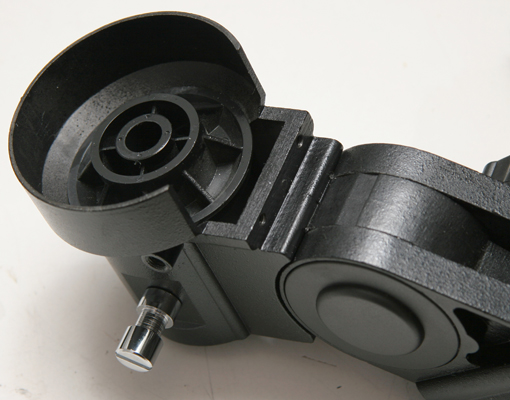
| The bearing-housing of the RA-axis. The upper bearing is plastic. The løower bearing is just a hole in the metal bottom of the housing. |
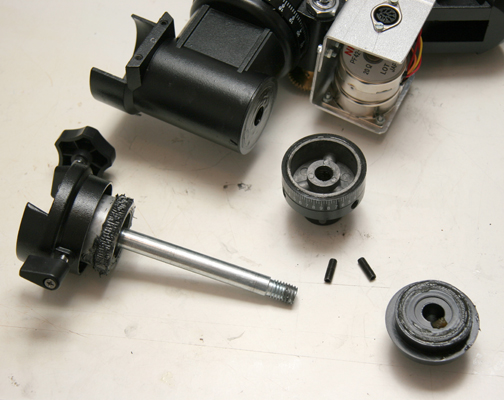
| All
parts of the RA-axis assembly can be released by loosening the locking
screw in the upper part of the picture. Pull out the gear.
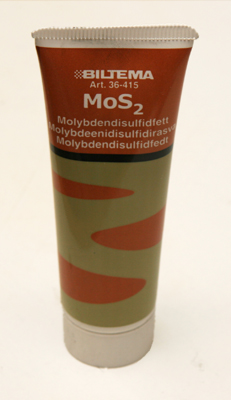
Clean the parts in white spirit and apply a grease suited for the
temperature range where you live. I used the grease shown below: |
| Then,
put all pieces together. When you thighten the nuts that fasten the
RA-axis and the worm-drive axis you have to be careful not to use too
much force. If you use too much force the drive will not rotate easily.
If you use to little force, the mount will be unstable. The axis should
run freely, but with a firm feel. The Declination axis can be dismantled by removing the worm gear housing, loosening the 2 locking screws in the big nut with the setting circle. |
| Pull
axis out of the housing, clean all parts and apply new grease. Put all
pieces back together. Again using just the right momentum to ensure
that the axis revolves freely but without slack. |
© 2006 Odd Høydalsvik
![]()